Mancala Board
Introduction
The final project for my Product Realization Design and Making course was to create a product through machining processes that has meaning to me. I chose to build a mancala board because I have fond memories of playing it with my family when I was younger.
Design
I had originally attempted to create a small and portable mancala board that could easily fold and connect with magnets. Below is a functional prototype made from laser-cut duron and neodymium magnets.
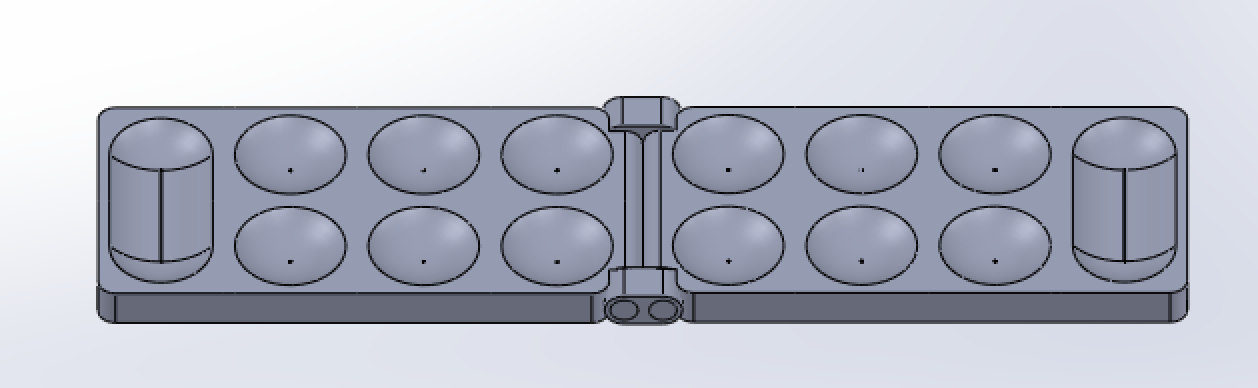
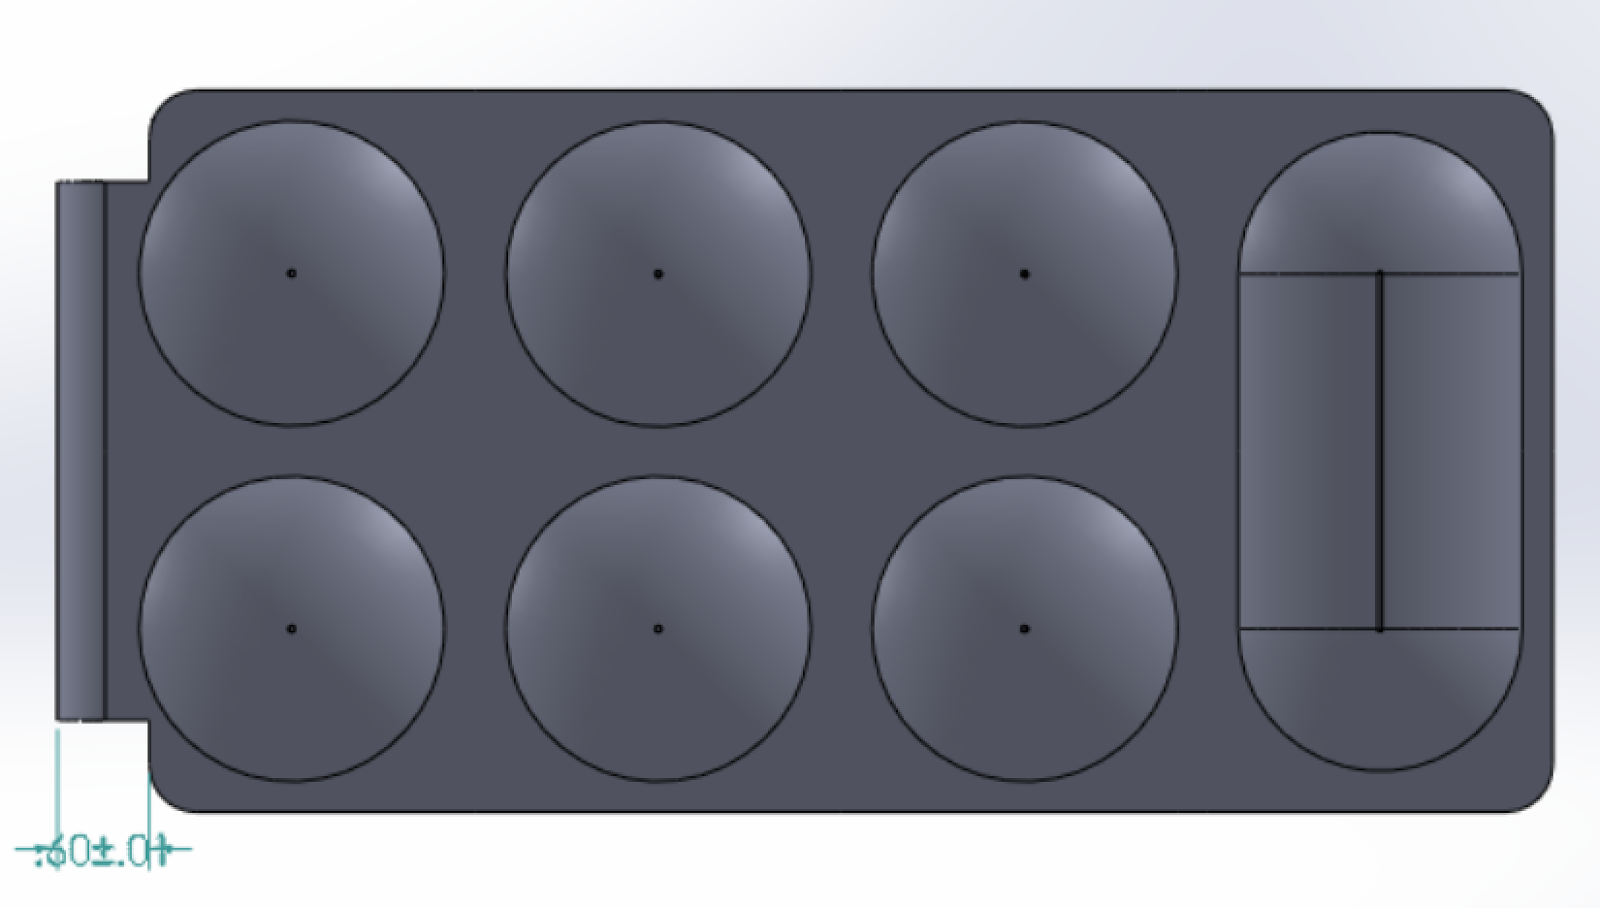
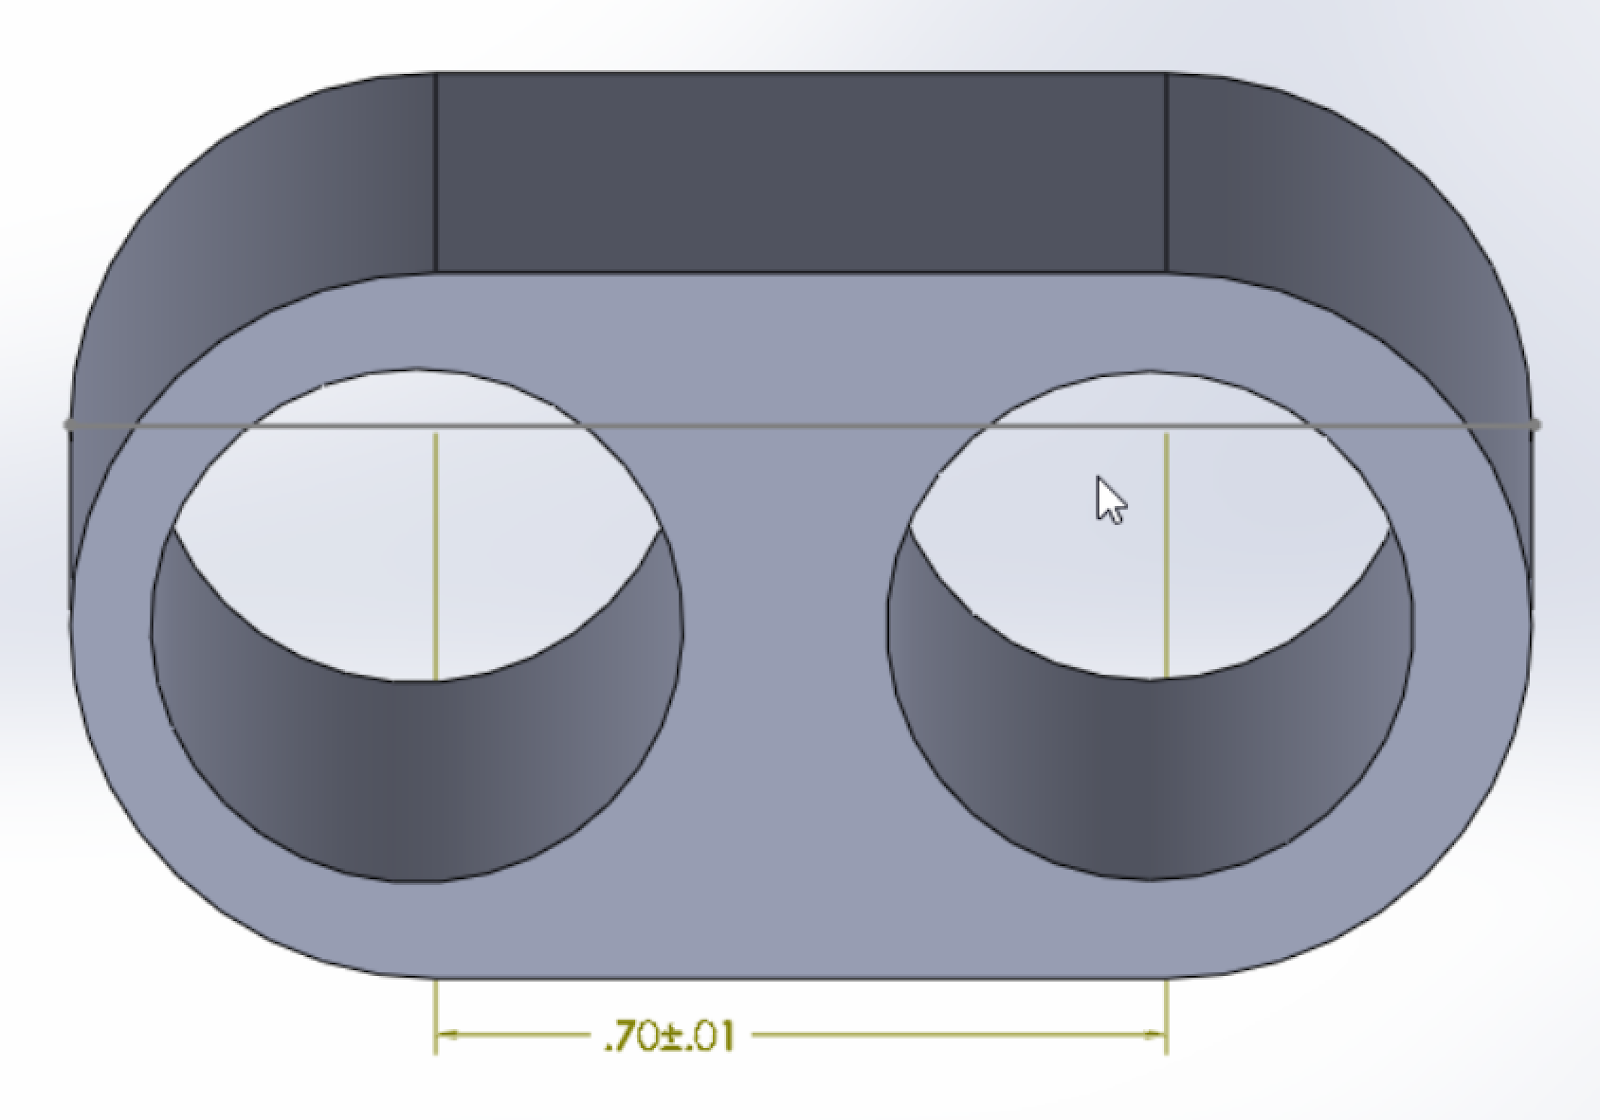
Although this worked quite well, I decided to use a press fit hinge to connect the two halves of the board for more security. This allowed for less unreliability with the adhesion on the magnets as well as analysis on the required magnetic field needed to connect the boards. I then began designing what the actual machined product would look like on solidworks. Images of the entire design as well as each component are shown below.
Machining Process:
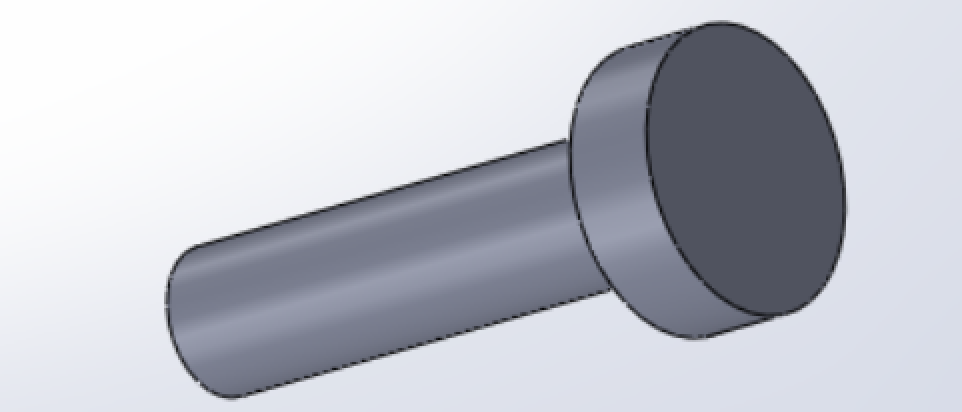
I used two individual machining processes to create my mancala board. I used the mill to create the two aluminum platforms and a 2-inch ball end mill was used to make the divots in the platforms. I then used the lathe to create stele rods that were press fit into the hinge that attaches the two boards together.
Materials:
I chose to use 6061 Aluminum for platforms and the hinges as it is easily machine-able and lightweight. I chose steel for the rods that go into the hinge so that the material wouldn’t deform when press fitted into the more malleable aluminum.
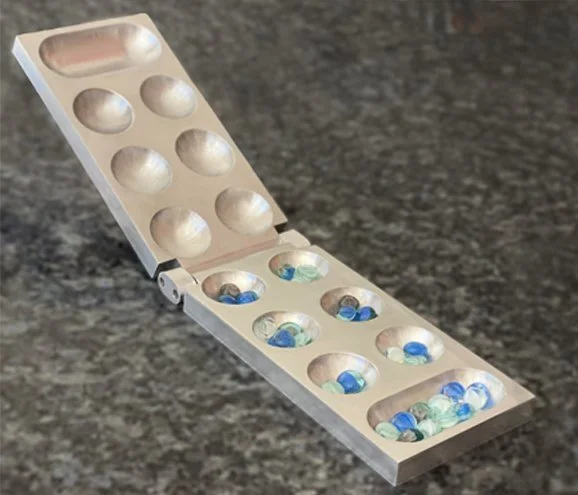
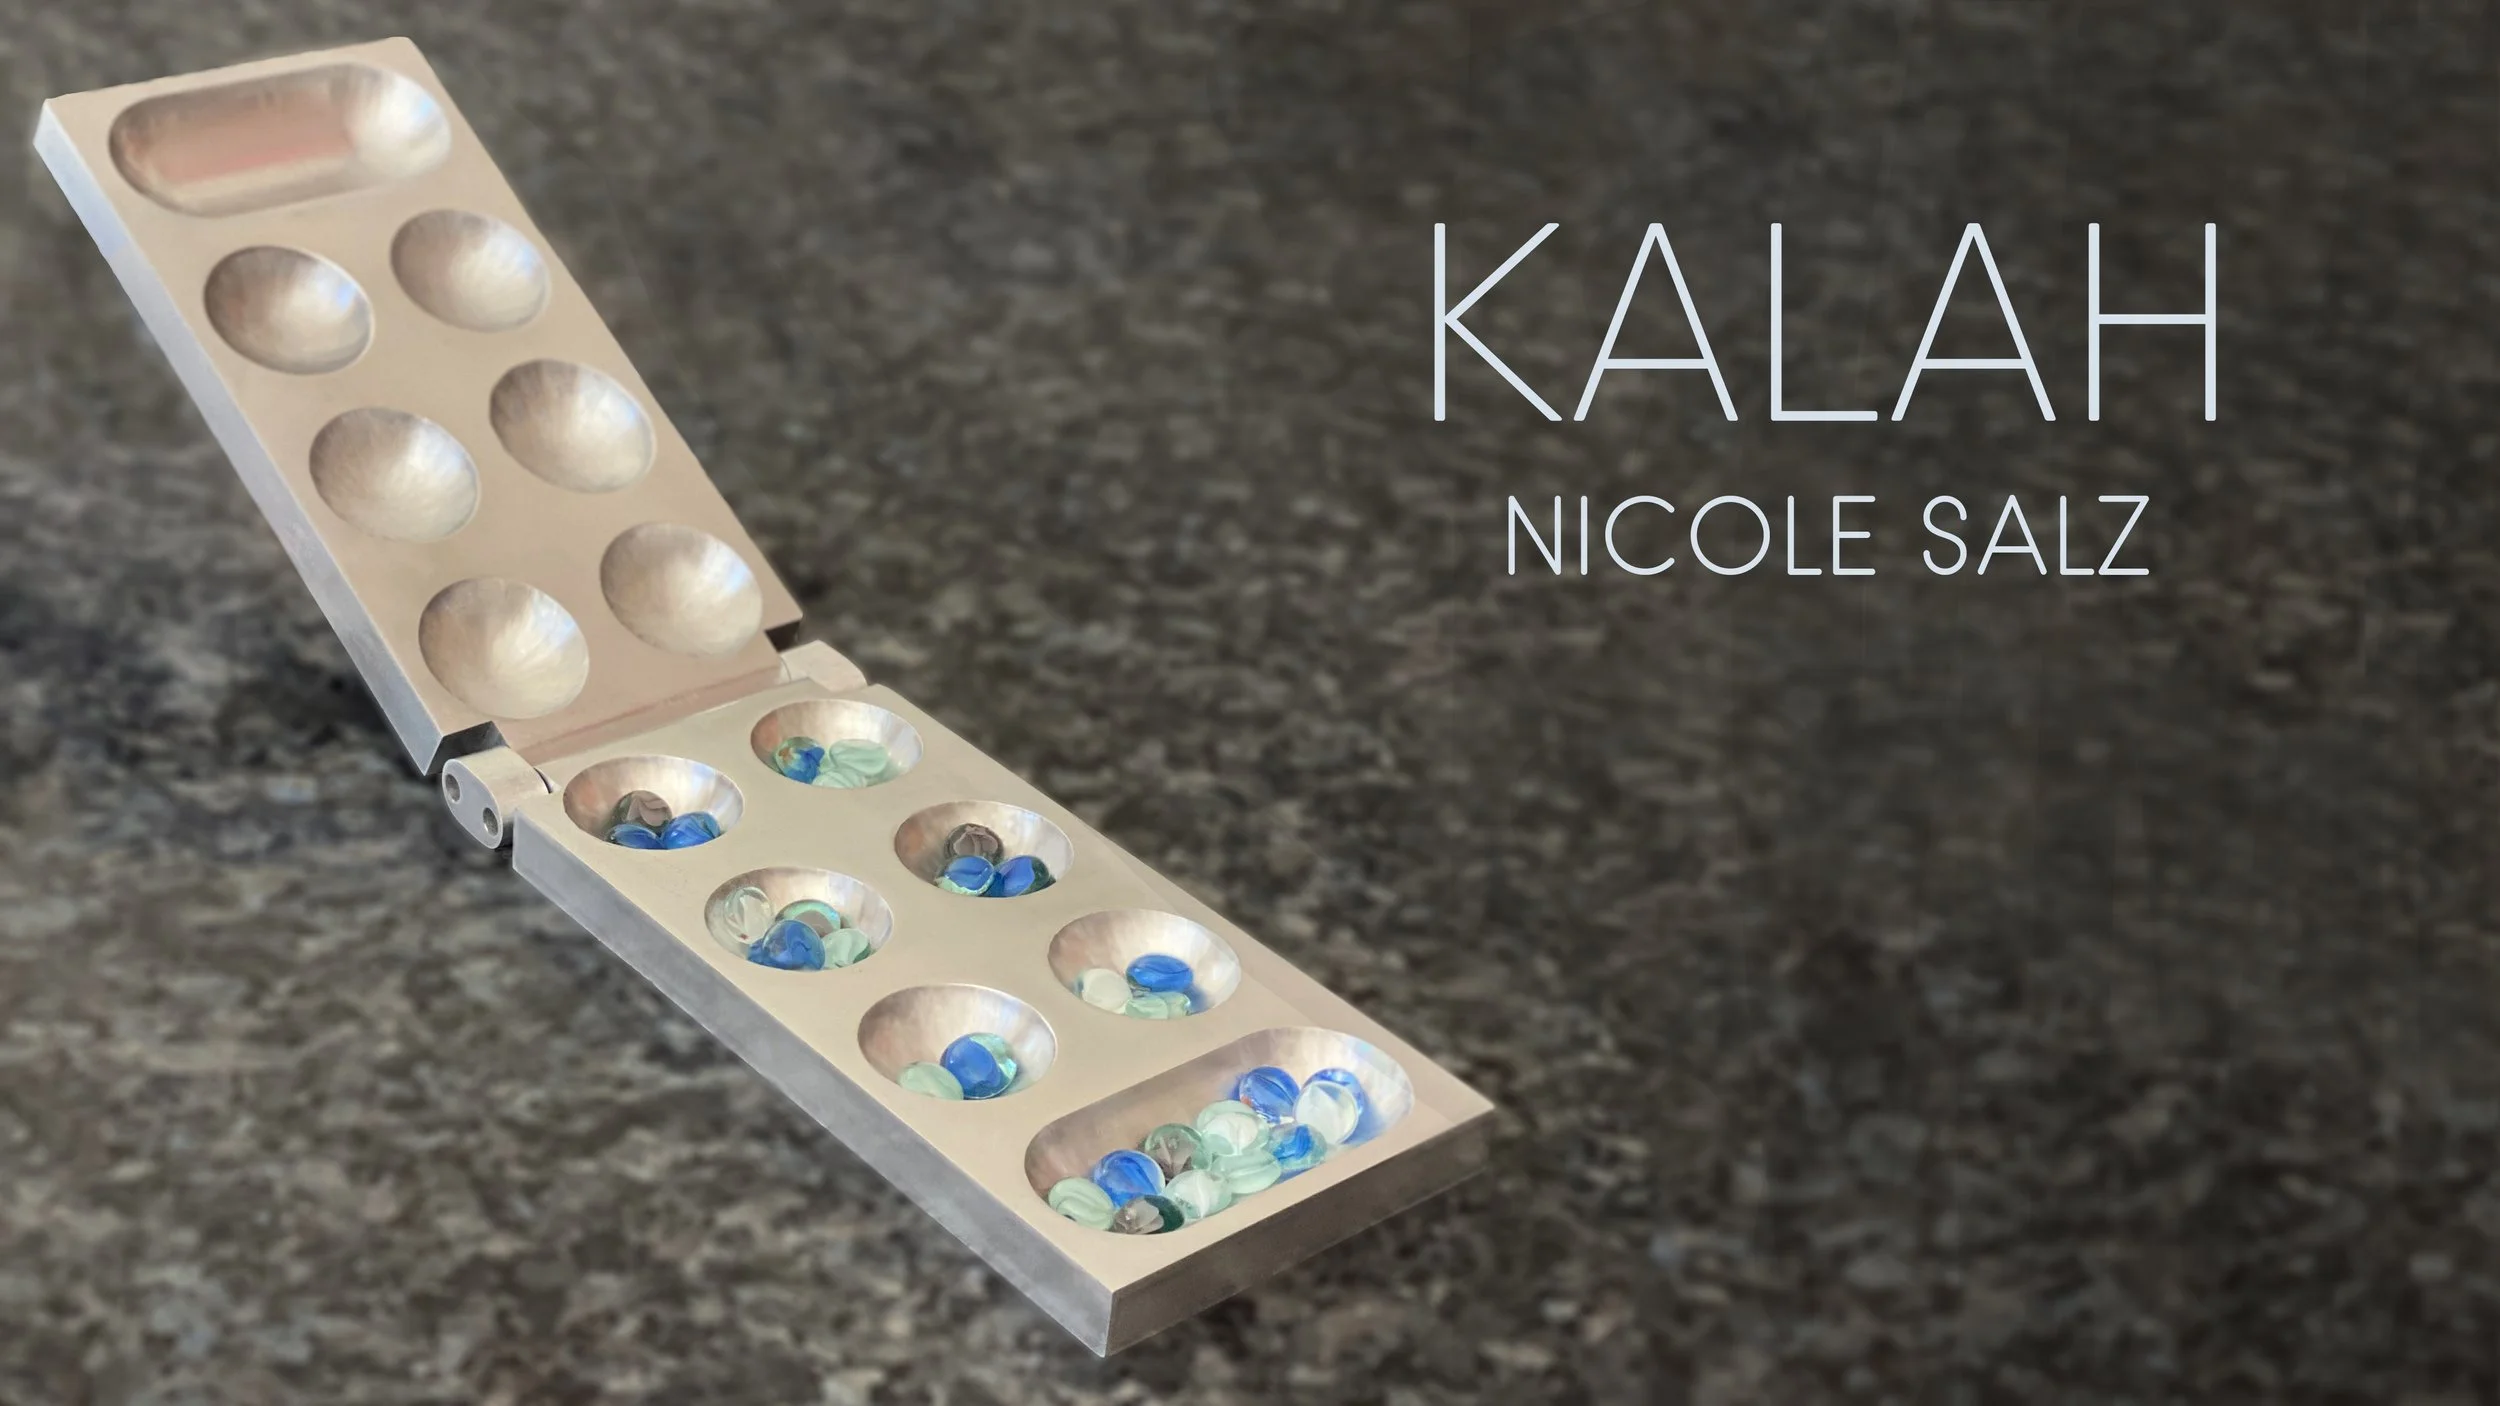
Assembly and Final Product
The assembly was fairly simple once everything had been machined. I simply had to press fri the steel rods into the hinges and the two halves of the board. I did this with a manual toggle press and that was it for assembly! Below, is another image of the final product!
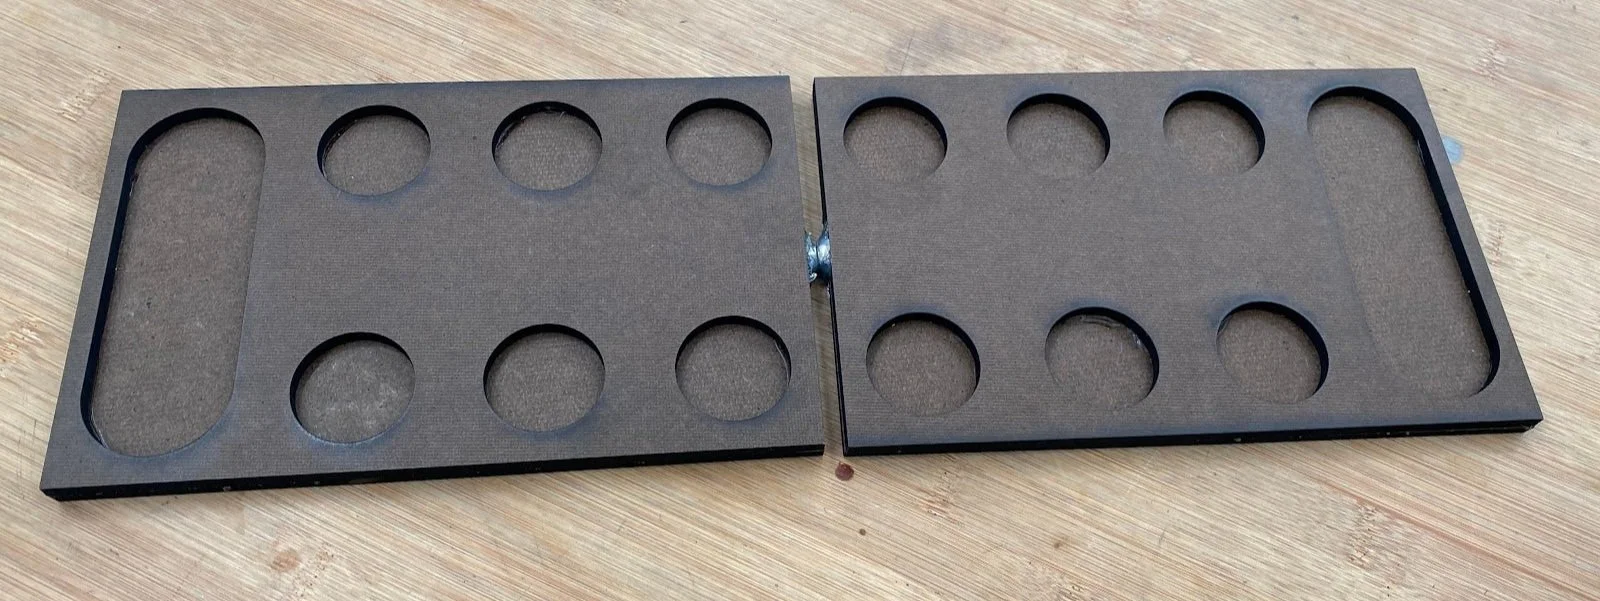
Functional Prototype